The DIY Podcasting & Lightboard Studio is an audio and video recording space used to create high-quality video recordings by simply bringing a USB flash drive and pressing a button to start/stop recording. Plugging a flash drive into the recording dock on the rolling cart on either side will automatically power on the lights, microphones, and PTZ camera on that side of the room. Once the flash drive is plugged in, all you need to do is press record. After you're done recording, make sure to press stop and wait approximately 10 seconds until the clip finalizes. A confidence monitor will tell you when the recording has stopped. Afterwards, it's safe to unplug the flash drive and download the contents to your computer with the installed USB-A to USB-C adapter on each rolling cart.
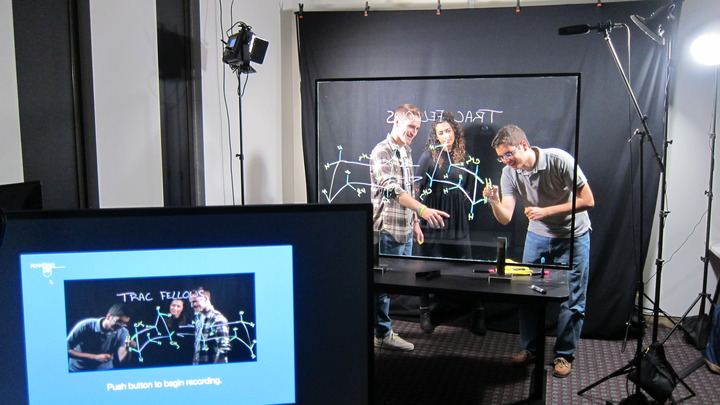
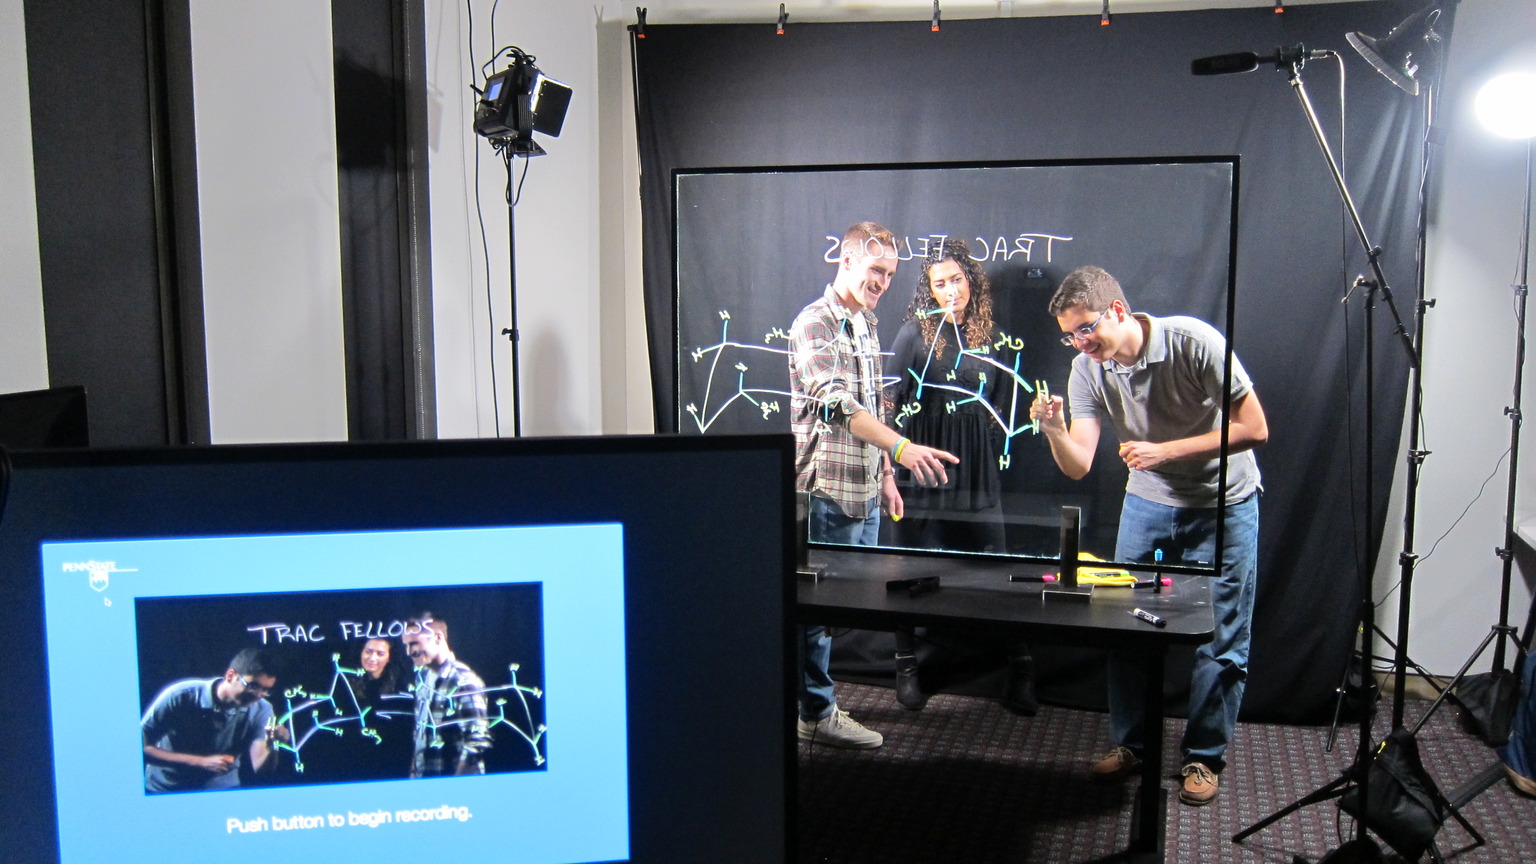
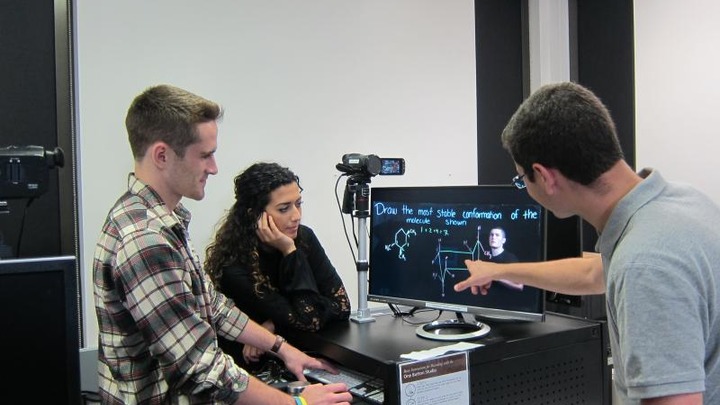
One side of the room features an illuminated glass lightboard for lecture and presentation capture. Erasable neon markers are used to draw on the lightboard. A switch underneath the table will electronically raise or lower the table.
On the other side of the room, there is a podcasting table that contains a mixer and four microphones with adjustable arms. Make sure to plug the flash drive into the recording dock to activate the lights for this side of the room, even if you are not using the video camera. Note: A separate power button on the back of the mixer must also be pressed to power it on. Headphones are located on hooks underneath the table next to each seat. Audio only can be recorded directly to the mixer memory card located in the back. Recording from the recording dock on the rolling cart will capture both video and audio. There is also a remote control to adjust the video camera's angle and zoom.
The key to the room can be picked up at the main Help Desk in the entrance of the EWFM Library. A flash drive is already installed in the room for your convenience. If you bring your own flash drive, make sure to format it for FAT32.
For more on this space, see DIY Podcasting & Lightboard Studio.
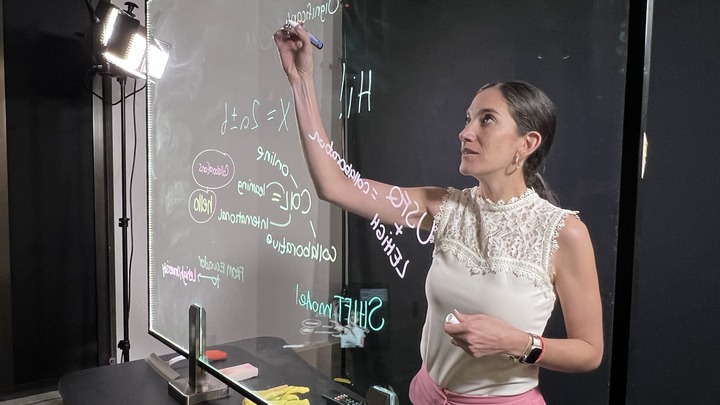
EWFM 522 Lightboard Studio
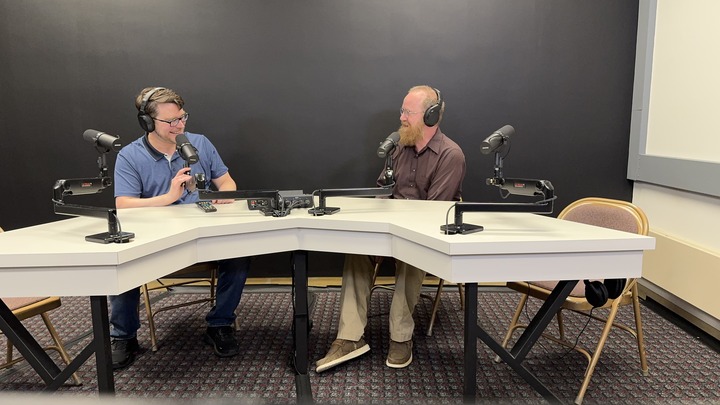
EWFM 522 Podcasting studio
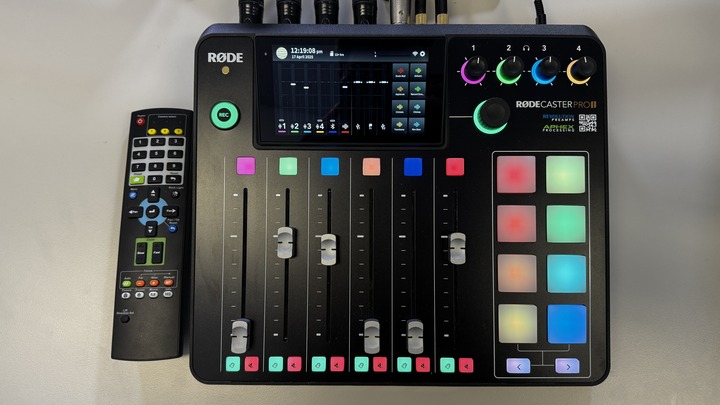
EWFM 522 Rode mixer
EWFM 522 Lightboard Confidence Monitor